Sunday, April 30, 2006

An awfully cool way to help


Ever hear of cool ties? I discovered them a few years ago through The Ships Project. They're narrow cotton neck bands with sewn-in pockets containing tiny water-absorbing crystals. The ties are extremely popular with the ground troops the project supports. You soak them in water, and the crystals puff up and stay that way for hours. The slow evaporation creates a micro-cooling system when tied around the neck. Now, I can't imagine anything making the Iraqui desert a comfortable place to be...but if these cool ties can give even a bit of momentary relief, they're well worth doing.

You'll find some first-hand comments about these cool ties on The Ship's Project Web site -- and the photos showing troops with the project's knitted caps, are wonderful, too.

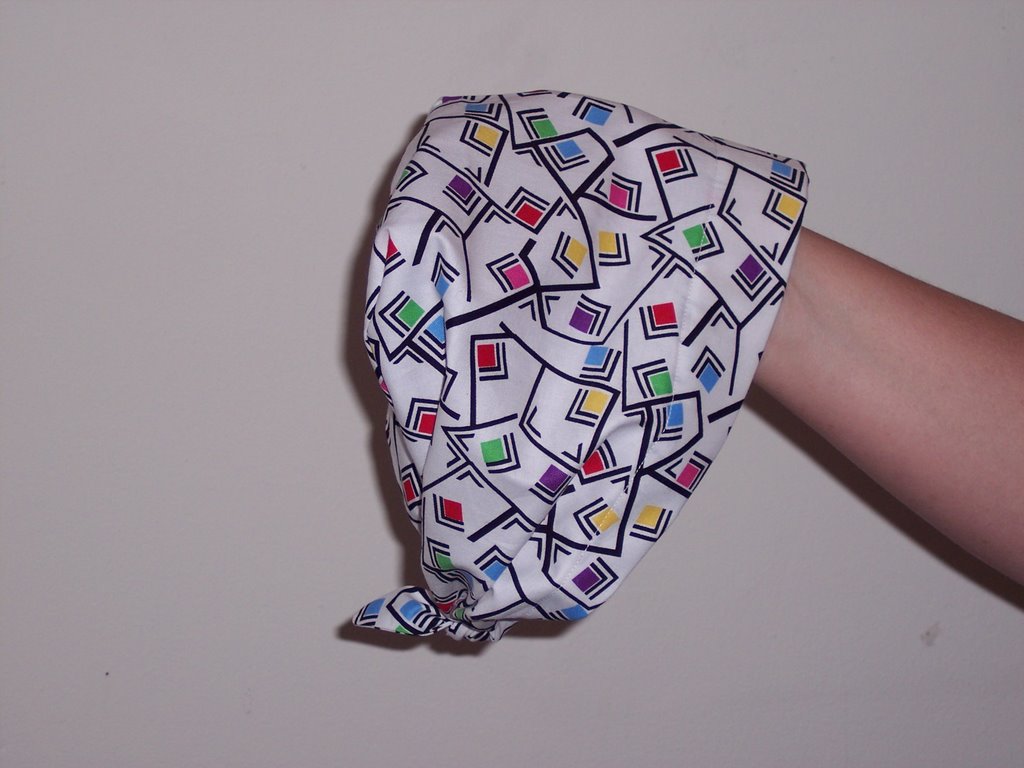
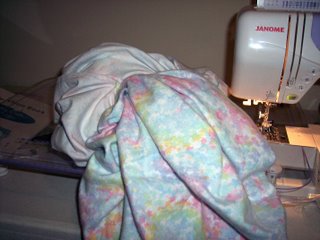
The project sends hats to the ships year-round, but really kicks up the shipments of cool ties for the ground troops this time of year. The ties I finished today are pictured above - in the fabric with that flame motif, that I really don't get at all (does it have something to do with Harleys? NASCAR?) -- but at least it does look quite guy-like, and was more fun to work with than the drab tans and grays I've done in the past. A yard and a half of fabric is enough for a full dozen ties. The Watersorb brand of crystals are available online - I got a similiar product yesterday in the plant department of Home Depot.

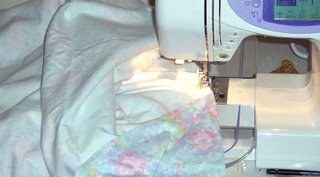
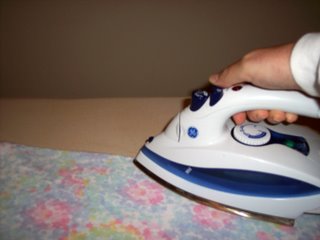
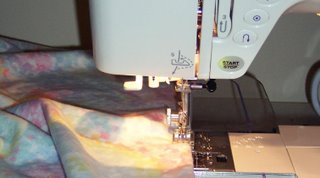
Here's the cool tie pattern - very simple and easy to follow.

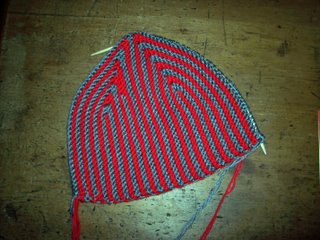
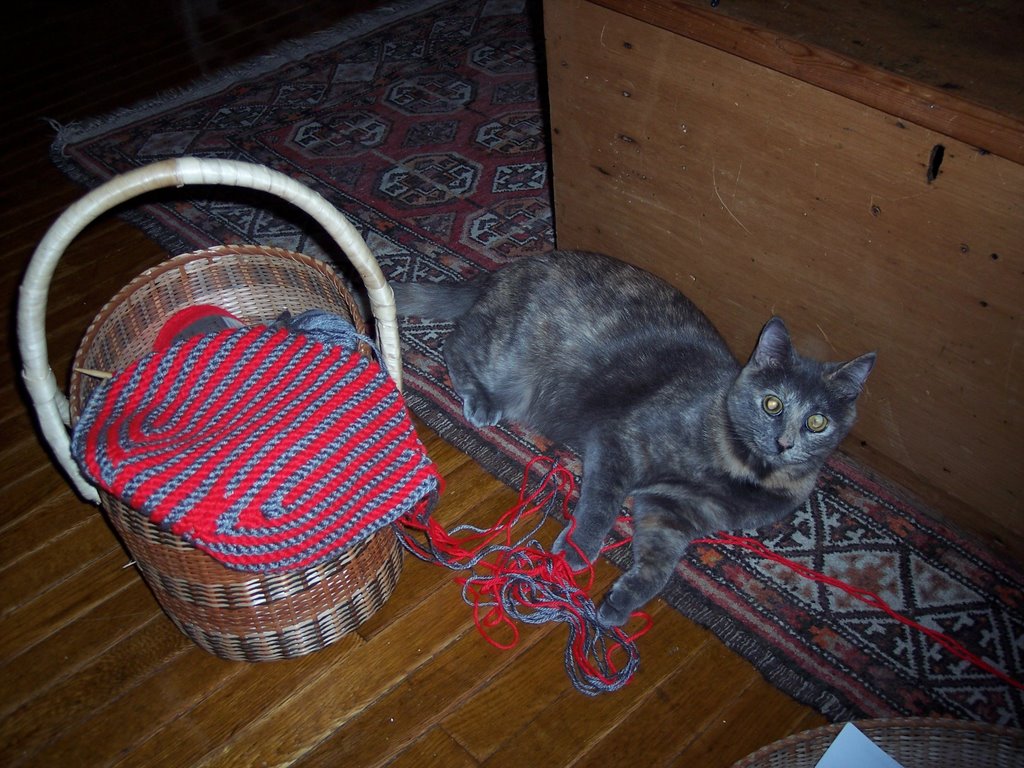
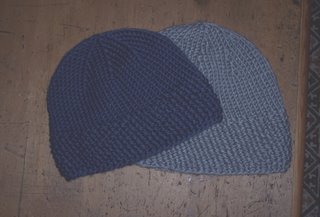
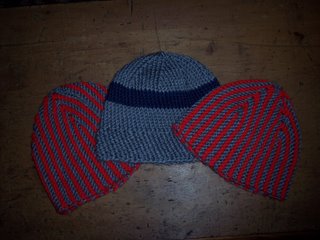
As for the hats that will go off to the project this week, here they are - two modified Tychus caps (oh, how I love that pattern) and a third from my "mistake" pattern for caps with a seed-stitch cuff.

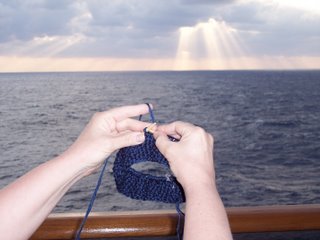
I've got another Tychus on the needles right now - so, think I'll get to it and see if I can stay awake for "Grey's Anatomy" tonight!

Tuesday, April 25, 2006

Sewing in the country


I went to my first quilt retreat last weekend. It was so much fun! Two days and two nights at a rustic retreat center outside of town, along with 13 other guild members. Naturally, I overpacked for the occasion - not with clothes or shoes, but with fabric. I had about 16 yards of flannel pre-washed and ready to be made into receiving blankets, and a number of pieces of bright cotton prints for chemotherapy caps. They were both quick projects, easy to fit in between piecing quilt blocks. It's fun to stretch and try new, challenging patterns, but it's often great to fall back on the familiar, easy projects, too -- especially when surrounded by laughter, conversation and late-night pizza. I'm glad these service projects could be part of a memorable quilting weekend.

Sunday, April 23, 2006

Enjoying Tychus again

The pattern-fiddling worked! Even with my one-size-too-large needles, the adjustments on the Tychus instructions yielded a well-proportioned cap with a lively look. It was fun to experiment with the short rows, and the cap knit up quickly. The holes at the turning points didn't seem to be an issue this time, either - I did wrap the turned stitches, which helped. So I feel much better about it now. It's going into the mail next month to The Ships Project.

I'm going to try to get another knocked out, making this next one just a tiny bit longer. I made this one across 28 stitches - think I'll add two or three when I cast on again this evening. That's one thing I love about knitting - it's just so easy to rip things out and start over again, with nothing wasted, no harm done. Tychus is back in favor once again!

Monday, April 17, 2006

Not enjoying the Tychus cap

Well, it was my own darned fault for not doing a gauge swatch. When I finished the Tychus cap last evening during "West Wing," it (the cap, that is) seemed a little large to me - in fact, it seemed a lot large. I tossed it over to my husband, who's got the sort of noggin you'd expect from a fellow who's six-foot-eight tall. And, while he truly does look adorable at all times, this cap was ridiculously big, even for him. And if it didn't look good on my husband, I'm not about to pawn it off on a Marine who's serving his country and needs to keep his ears warm.

(I was disappointed with how this cap turned out, but not nearly as disappointed as I was with the new West Wing episode. The promos indicated there'd be a full-out tribute to the late John Spencer and his character, Leo McGarry. Not so, apparently. The episode was OK, but not the cry-fest I had anticipated. And I had my Kleenex all ready. Sigh. )

Anyway, with the finished Tychus being of such gargantuan proportions, I ripped out the whole thing and wound it back into tidy balls by the time "Desperate Housewives" was over.

However, I haven't given up on the project. The pattern is good, even if my gauge was off. I'm stuck with my size 10 circular needle since most of my other needles, except for DPNs, are in storage until we move into our house next month. But I think I can fiddle with the pattern enough to make it fit a normal-sized person, and skip the roll-up cuff while I'm at it.

So…off I go to cast on 28 stitches instead of 38, and to do short rows over 14 stitches instead of 18, thus eliminating eight rows from Tychus' garter-stitch girth. And hey! It's West Wing re-run night on Bravo!

Saturday, April 15, 2006

Enjoying the Tychus cap

I'm halfway though making another cap for the Ships Project. In a recent post to project volunteers, Ellen Harpin said that she won't be sending caps to the ground troops for a few months - no need for extra warmth in the Iraq desert these days - but the military serving on ships still have a need for warm hats, and they enjoy the brighter, more creative styles in their down-time. So I decided to use the Tychus pattern from Knitty. I've been admiring it for awhile, both for its attractive style and its use of short-row shaping. Here's how it looks so far:

I'm probably going to go in and do a little weaving on the inside of the cap - the turning spots on the short rows are creating some holes, but nothing that can't be easily fixed with a little surreptitious stitching. All in all, I really like this pattern. I'm aiming to get a few more done before the mailing dates in early May. I might adapt the row length to make it a little shorter, eliminating the need to turn up a cuff.

I used two strands of Caron Simply Soft (which seems to be my acrylic of choice these days) in gray and bright red. I've got some more dark blue to use up, too, so that will go into the next effort.

And of course, having four strands of yarn going at the same time is just too much for a little cat to resist. Turns out Abigail is much better at scrambling around with the web of yarn than she is at knitting - but if she had thumbs, I'm quite sure she'd give it a go...!

Wednesday, April 05, 2006

A great cap to sew

A few months ago, I was looking around for a good pattern for a chemotherapy cap to sew. Our volunteer sewing group at the hospital had a standing request from the cancer-treatment center to provide such caps. Problem was, most of the Internet patterns available are the stretchy turban styles that, frankly, aren't that attractive. And if you're sick and experiencing hair loss to boot, you shouldn't have to resign yourself to something really frumpy-looking.

There are some headwrap patterns available from the big pattern manufacturers, and I tried a few of those. Most involve multiple pattern pieces, elaborate lining, and tricky procedures to ease a full crown into a narrower band. I made one that took several hours to make.


Then I discovered a terrific pattern by Helen Littrell, a woman in Oregon who's earned considerable acclaim for her "Cover Cap" and other clever designs on her website. My photo doesn't really show it well, but the ties create soft folds along the sides that provide some flattering fullness around the face. A short elastic insert in the back helps create a custom fit. And, I kid you not, once you've made a few of these kerchiefs, you'll be turning them out at the rate of three per hour!

Our volunteer group has made stacks of these for the cancer center, and the nurses have reported that they fly off the shelves. We made lots of them in warm flannels during the winter months. I'm switching to 100% cotton for the summer months. A friend who's been undergoing chemotherapy and hair loss in recent months says the cozy ones are great for sleeping, and lighterweight fabrics are preferable for daytime wear.

Try fun, bright prints as well as darker, more conservative fabrics - people with cancer don't lose their personal tastes when they lose their hair, so offer them as much variety as you can when you're making a cancer center donation.

Even if you're accustomed to knitting caps for chemo patients, please consider giving this great sewing pattern a try, especially as we're moving into warmer weather. Helen charges a nominal fee for her patterns so she can keep her operation going. Her service is fast and friendly and the cap designs get an enthusiastic thumbs up from the folks who need them most. I'm sure you'll consider this pattern the best $5 investment you'll ever make!

Tuesday, April 04, 2006

You can almost smell the Baby Magic

Tonight was a good night to make one of the flannel receiving blankets I've had on my list. My mother used to make these snuggly blankets and my daughter had two of them as a newborn. In recent years, I've many happy memories of my mom while making similiar blankets. This particular one is for my niece Amy and the little one she and her husband are expecting this summer. They're great for hospital giving as well.

These are insanely easy to make and the process doesn't really need illustration, but I was in a mood to fiddle with photos tonight.

Each blanket takes about 2 1/2 yards of flannel. Be sure to wash it, because flannel really shrinks. Trim off the selvages, double the fabric, and square it up:


With right sides together, stitch all the way around the edge with a 3/8" seam. Leave an opening of six or seven inches:


Trim excess fabric from the corners and turn blanket inside out through the opening:

Press the edges:

Topstitch around, 1/4" from the edge. You'll stitch the opening closed in the process. This is a nice chance to use one of your machine's decorative stitches if you're so inclined:

You can whip one of these together in 20 minutes. Seriously.

These always make me think of wrapping up my daughter, all snug and cozy and clean, after her bath. And they make me remember how sweet my mother was to make those wonderfully cuddly blankets.

These aren't the show-stopping sort of blankets that will become family heirlooms and make people gasp in admiration. But they're useful, much more generously sized than purchased receiving blankets, and stand up to hundreds of machine washings.

Twenty minutes in the making - and a lifetime of snuggly memories.

Saturday, April 01, 2006

Nothing seedy about these caps

Among the Saturday-morning errands on my list today is a stop at the post office to mail the caps I made for the Ships Project on vacation. Naturally I always wish I'd been more productive, but Ellen Harpin is always gracious and happy to receive even small shipments of donations for the troops.

This pattern was actually a bit of a mistake. I started out casting on 66 stitches (I thought), but -- perhaps distracted by the magnificient view of the Carribbean, I had miscounted. So, instead of the traditional ribbed cuff, I knit a seed stitch on 65 stitches instead. I was pretty happy with the result. The seed-stitch cuff is cushy and comfy, providing a bit of extra thickness over the ears without needing to be turned up. I liked it so much I repeated the "mistake" on the next cap.

If you'd like to give it a try, here's the pattern.

Ships Cap with Seed-Stitch Cuff

Using 12-inch circular needle (size 10) and two strands of worsted-weight yarn (I used Caron Simply Soft), cast on 65 stitches. Add marker and join. K1, P1 around until piece measures about 2 1/2 inches long (after the first round, you'll be knitting in the purl stitches and purling in the knit stitches, forming the seed stitch.)

Switch to stockinette stitch (K only) until piece measures about 5 1/2 inches long.

At beginning of next round, K6, K2tog around. K next round. Then: K5, K2tog around, K next round. Keep decreasing in this manner, every other round, switching to DPNs as needed, until only a few stitches remain. Cut yarn, thread through remaining stitches and draw securely.

Now...I'm off to the post office!